What to Expect During a Hardwood Flooring Installation
Undergoing a hardwood flooring installation is an exciting way to enhance your home’s aesthetics and value. Knowing what to expect can make the process smoother. Here’s a breakdown of the typical steps involved, along with some tips for preparation:
1. Pre-Installation Preparation
Preparation is essential for a successful hardwood installation. This includes removing existing flooring and inspecting the subfloor to ensure it’s level and clean. Hardwood should also acclimate to your home’s environment for a few days to adjust to the room’s temperature and humidity. This helps prevent expansion or contraction after installation.
2. Subfloor Inspection and Underlayment Installation
The subfloor provides a foundation for the hardwood, so it must be in good condition. Installers will check it for any damage or unevenness and may make necessary repairs. A moisture barrier or underlayment is often added at this stage to provide stability and insulation and to protect against moisture, which can damage hardwood over time.
3. Layout Planning
Before laying the first plank, installers will map out the floor layout to ensure an even appearance. They’ll determine the direction and pattern of the planks, keeping in mind the room’s design and any architectural features. This stage is essential to avoid issues later, such as narrow strips along walls.
4. Installation of the Hardwood
Installation methods can vary—nailing, gluing, or floating—but the most common method is nailing. Installers will start from one wall and work row by row, securing each plank. They’ll also make precise cuts to ensure the wood fits snugly around corners and other obstacles. The expansion gap is maintained throughout to accommodate wood’s natural expansion and contraction.
5. Cutting and Fitting Around Obstacles
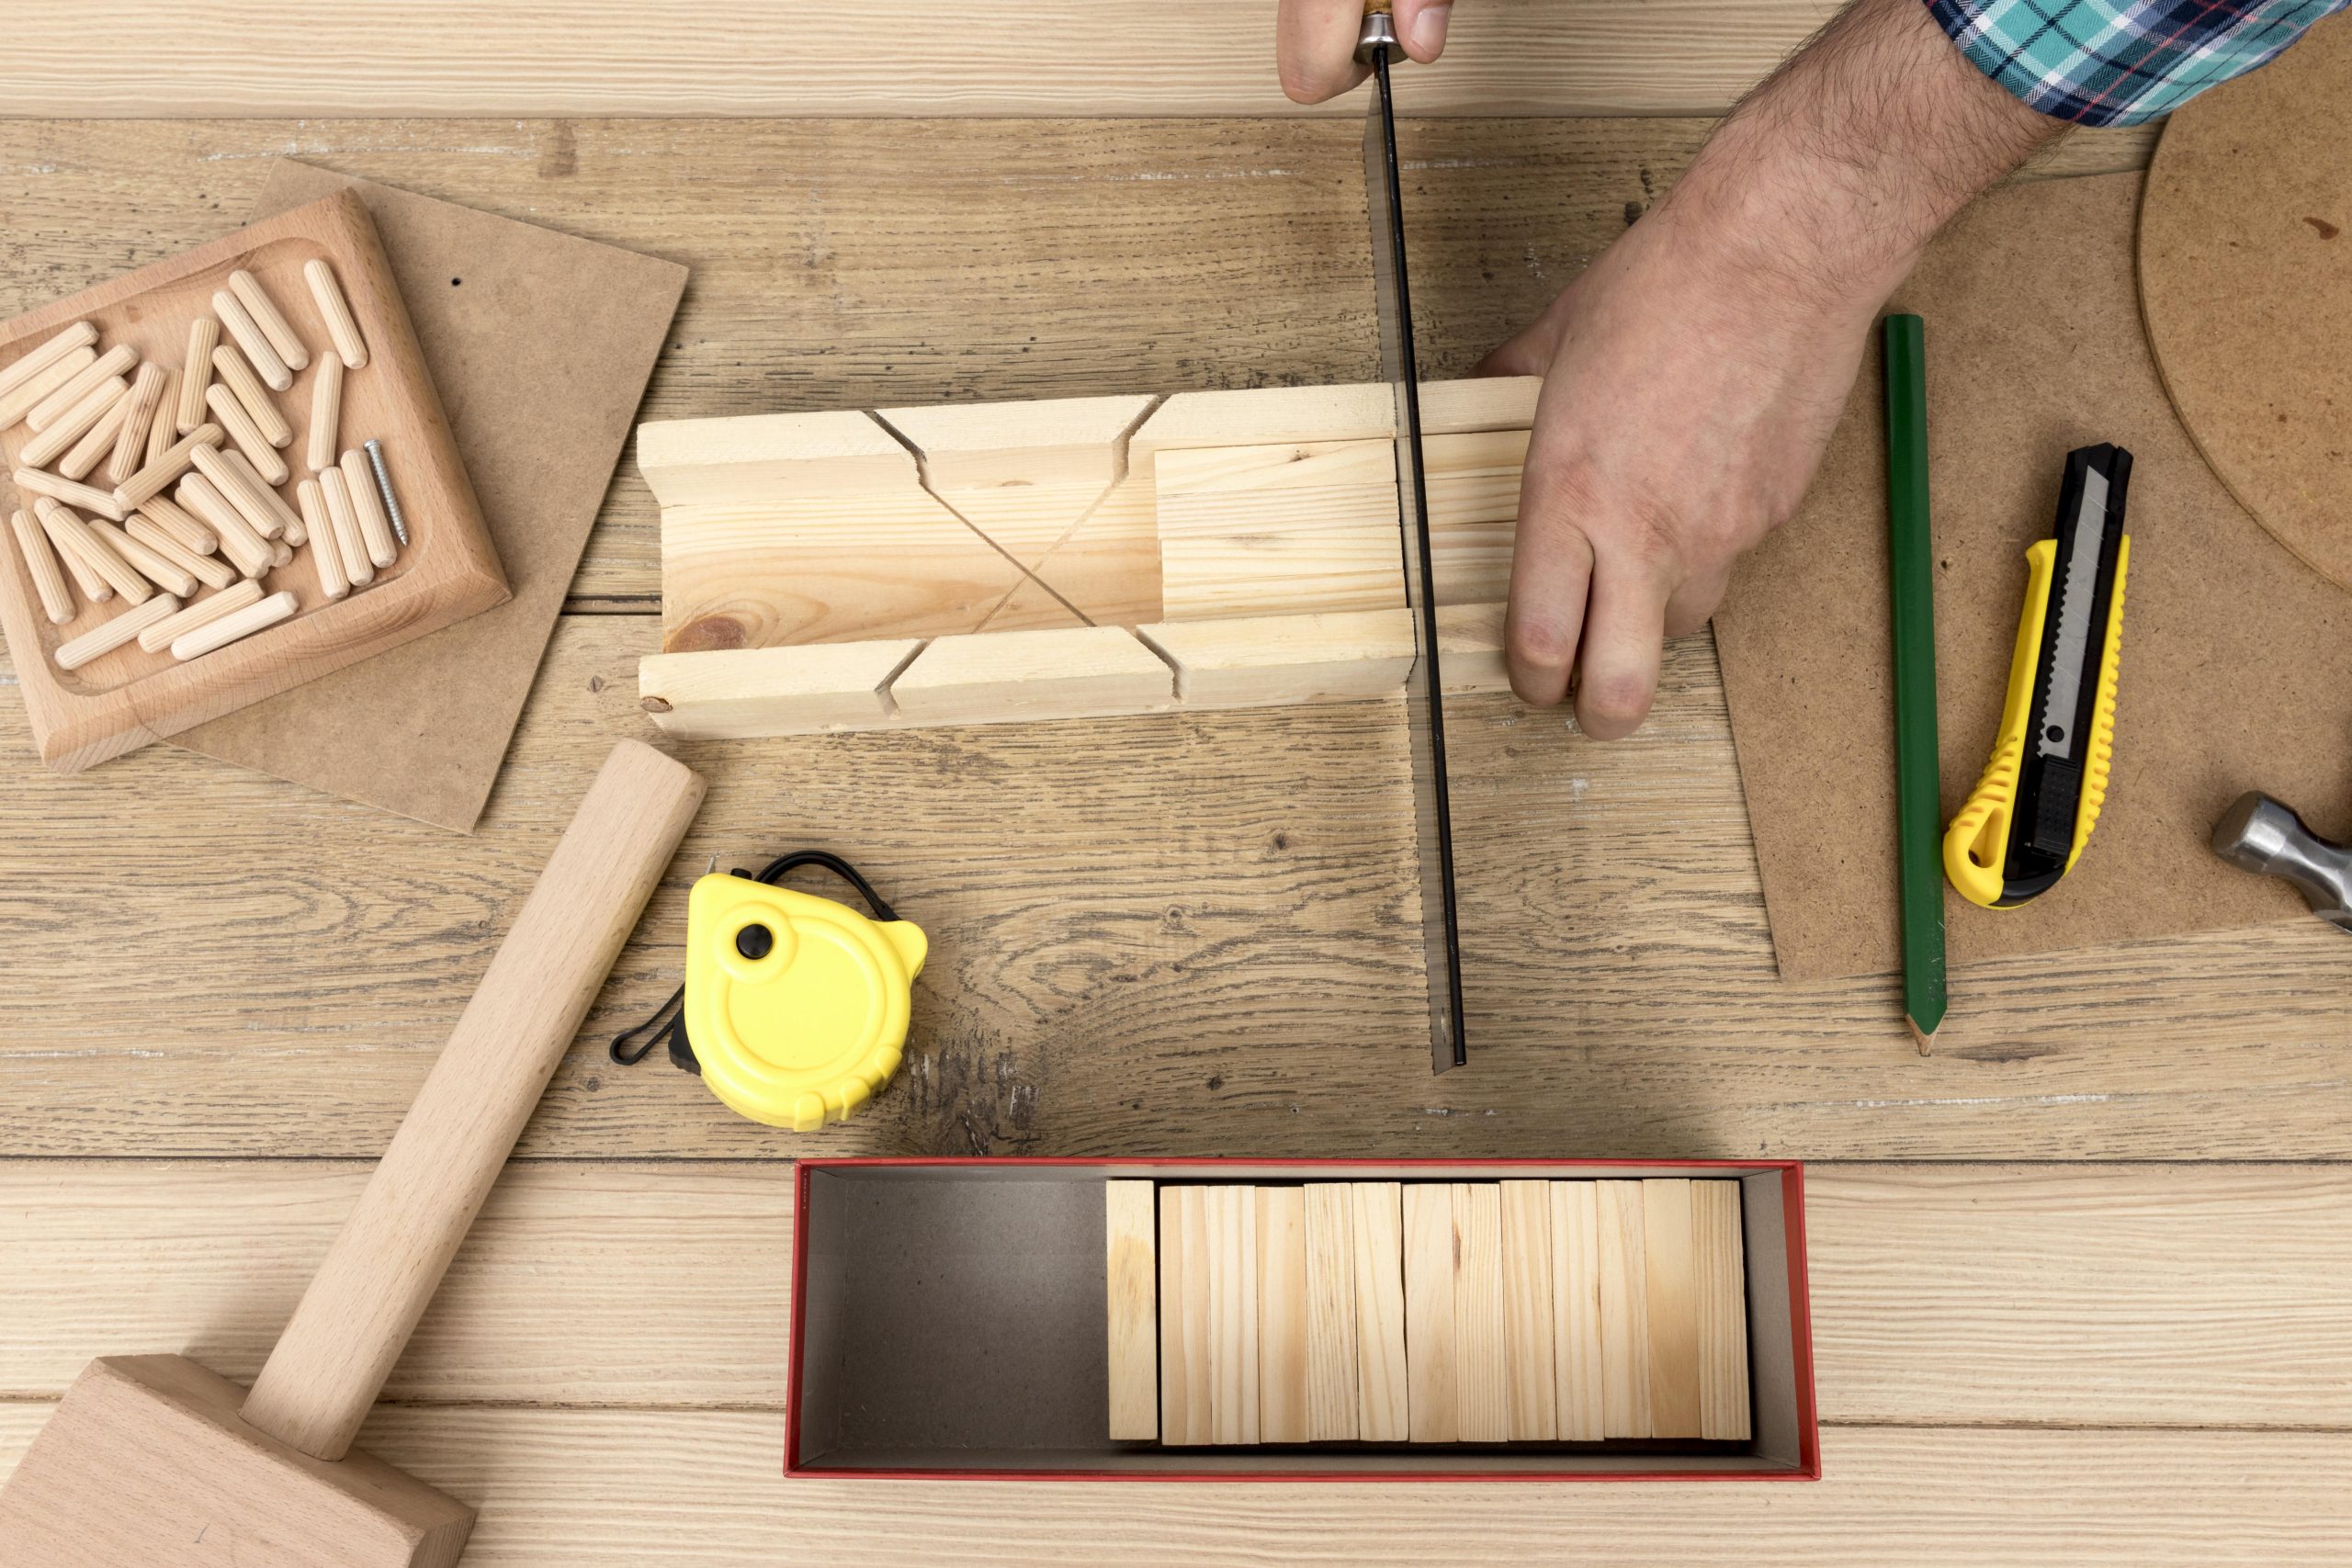
During installation, some planks will need to be cut to fit around doorways, cabinets, or irregularly shaped walls. This step requires careful measurement and precision to maintain the floor’s appearance. Professional installers have the tools and expertise to make accurate cuts and ensure that every plank fits perfectly.
6. Finishing Touches
Once all planks are installed, baseboards or moldings are added around the room’s perimeter to cover the expansion gap and provide a finished look. If you’ve opted for unfinished hardwood, the floor will need to be sanded, stained, and sealed at this stage. However, if prefinished hardwood is used, this step is unnecessary, and the floor can be walked on sooner.
7. Post-Installation Cleanup and Curing
After installation, the area will be cleaned, removing any dust or debris from the process. If the floor was sealed on-site, it’s crucial to allow ample time for the finish to cure before moving furniture back into the room. Curing times vary depending on the finish used, but it generally takes at least 24 to 48 hours.
8. Settling Back In
Once the curing process is complete, you can move your furniture back and start enjoying your new floors. Protect your investment by using felt pads under furniture legs and maintaining a stable indoor climate, as temperature and humidity fluctuations can affect hardwood.
Final Considerations
Hardwood flooring installation is a multi-step process that requires careful planning, precision, and patience. Each step plays a vital role in ensuring that the floors not only look beautiful but also last for many years. While the process can be completed as a DIY project, professional installation guarantees the best results and protects your investment.
For those interested in professional installation services, Hardwood Floors LLC offers expertise and quality service to ensure a smooth and successful installation process. Based in Norwalk, CT, we serve surrounding areas with comprehensive hardwood flooring solutions. For more information or to schedule a consultation, visit Hardwood Floors LLC or call us at (203) 913-4209. Let us help you transform your home with beautiful, long-lasting hardwood floors.


